Elevator Simulator 3.0 - the Quick Change
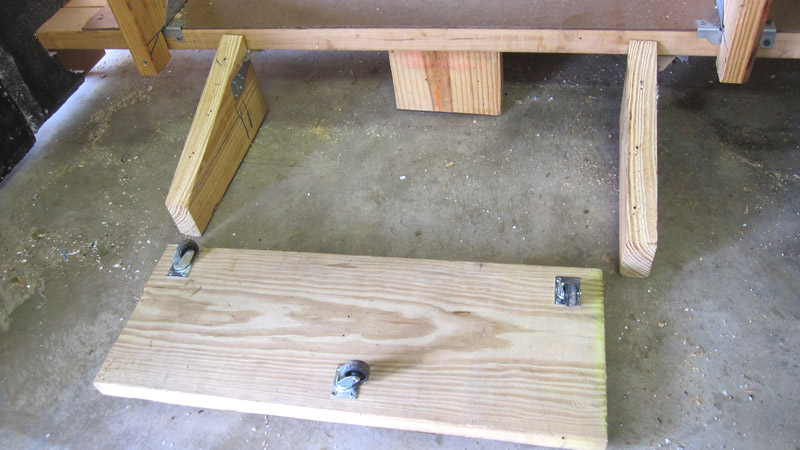
I personally believe that the kids have to exit the same door of the elevator that they entered. I mean, I think I have been in two elevators in my life that had front and back doors. My earlier haunts used multiple moving walls to accomplish the scene change. This year, I came up with something more elegant. The idea was to create a rolling box that would allow all walls, ceiling and floor to change with one swift motion. Here is a simlified cartoon of what I built. It is 8' tall at the tallest point.
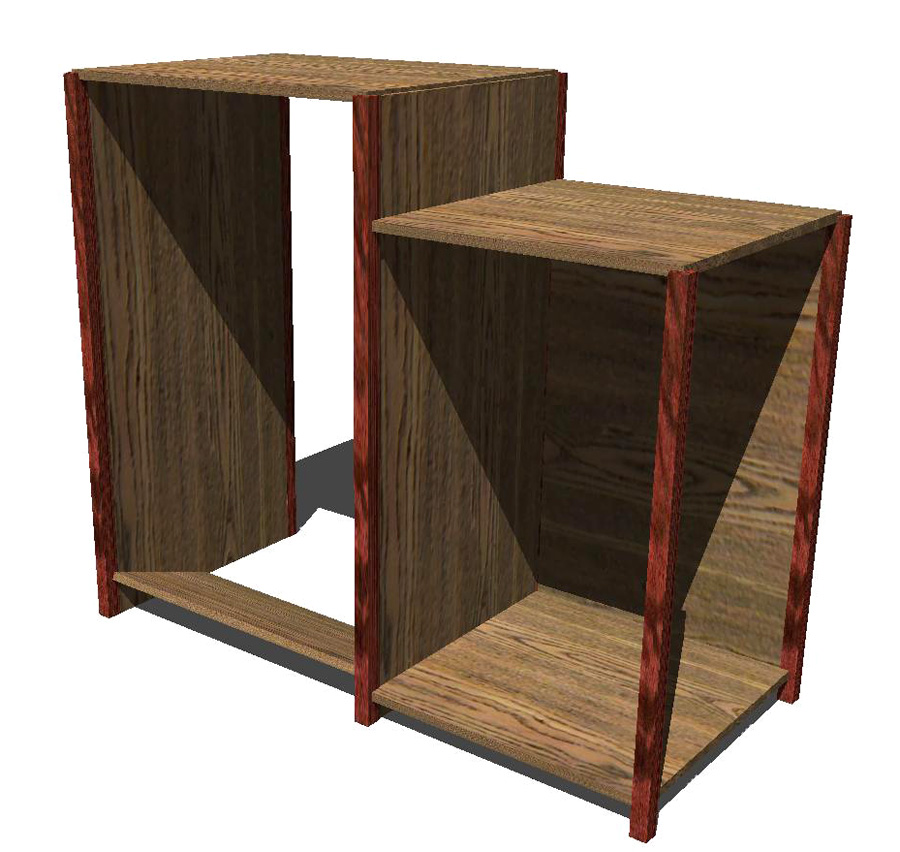
But what is that and how does it work? How about a video to show that.
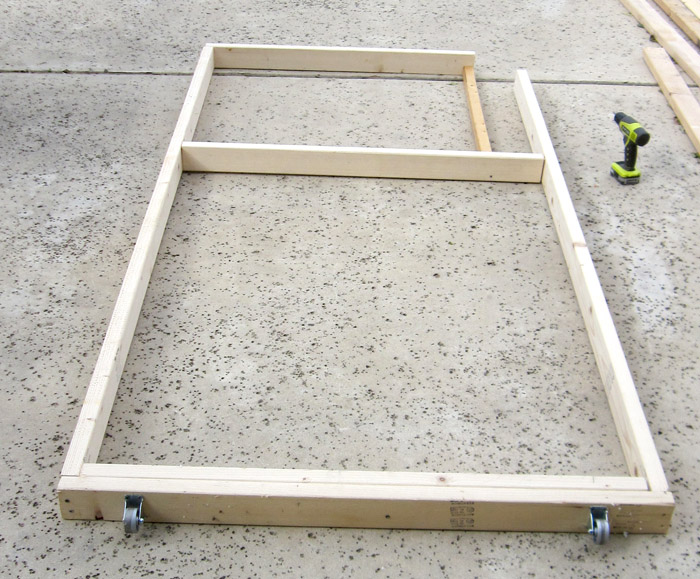
So, with the video the upper image makes a little more sence. I used fixed 2" metal castors to make the box roll and hid them behind the wood panels.
One unfortunate aspect of this setup is that there is no good way to put guides along the floor for the castors to follow. Fortunately, the box didn't drift much throughout the night and the box was light enough that it could be easily nudged back in place when it did.
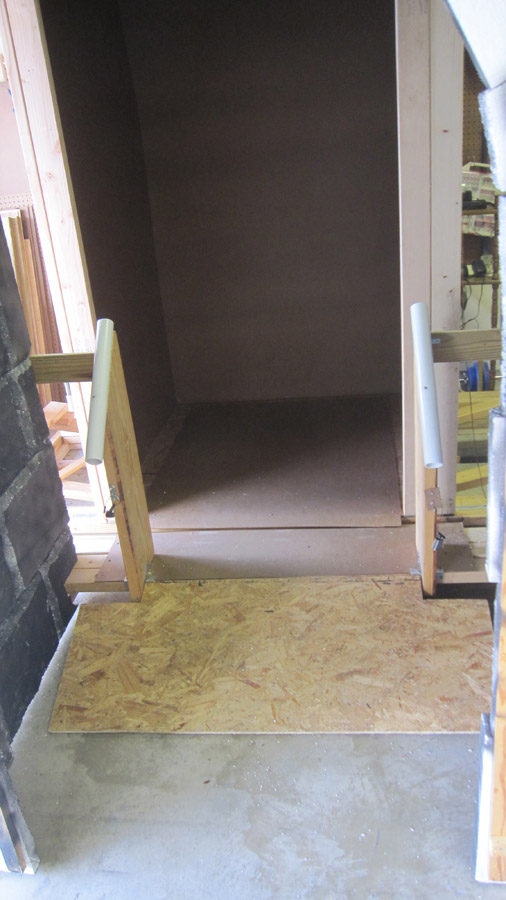
One other annoying issue is that the walls need to meet up to the elevator entrance, but cannot drag on the elevator doors. The inner door is not a problem because it is only 1/8" thick. The outer door, however, is 4" thick. Therefore, I had to make one wall 5" narrower than the other so that the wall didn't hit the outer door during the transition. I don't have a great picture of that but here is a picture that shows both walls (sort of).
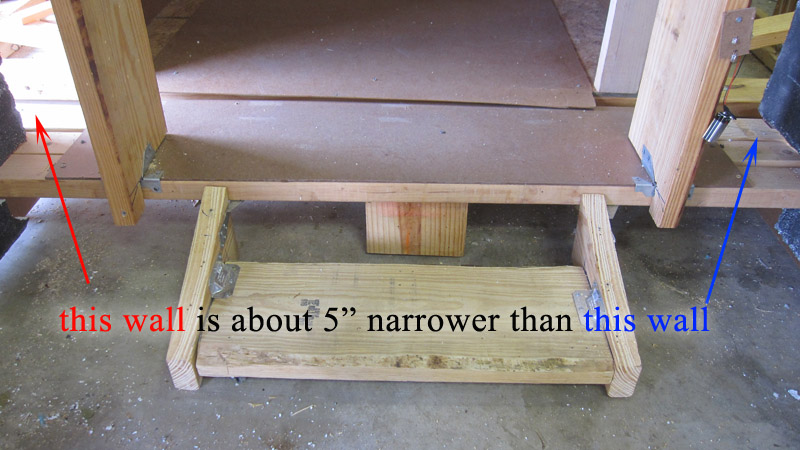
The issue with this that comes up is that there is now a 5" gap in the wall that is visible as the kids enter the elevator. There are three ways I could have dealt with this.
1) This was my initial thought. Since the gap is there to make space for the outer door, I could initially open the outer door to the left, through the gap so that the door itself blocks the gap when the kids walk into the elevator. Then, after the box rolls to the right, I can open the door up to the right so that, again, the outer door fills up the gap. I would need to make the above railing for the door about 12' long but that was not an issue. The issue was that all my wiring hung out to the left of the door. If I slide the door left to let the kids in, then I would have exposed wires above the kids' heads to be grabbed. I was thinking of putting the wires on a pulley and hang a weight at one end to keep them taught but wires aren't that flexible and I thought this setup would be a pain.
2) My second thought was to build a 4" section of wall to the left that would not move with the box. This part would not change with the scene change but would be small. I could have attached the top of it to the door railing but the bottom of it would not be attached to anything. I ran out of time to do this so I didn't.
3) Do nothing and live with the gap. A professional haunt would not accept this option but I am not a professional and I don't think any of the kids noticed the gap at all.
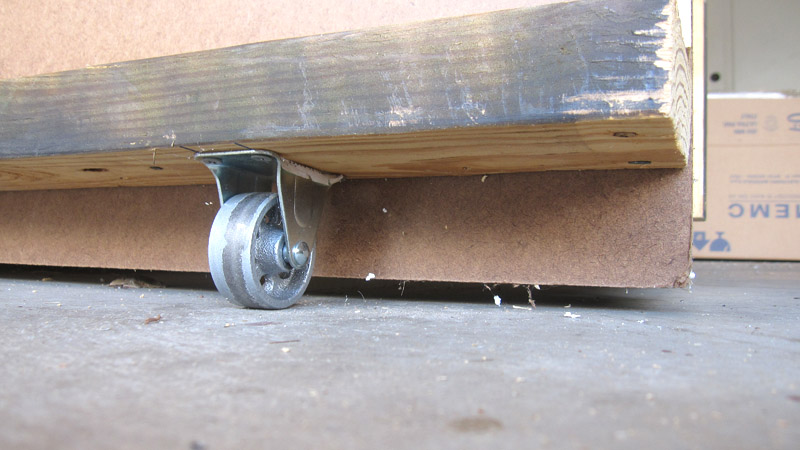
One more issue with the rolling box approach. When we loaded the kids into the elevator, there was realatively bright lighting and someone there to say "watch your step." When unloading the kids, the scene was darker and there was no one there to point out that there was a 7" step down. Originally, I just made a step, hand railing and made sure I had blue lights illuminating the floor. My friend and long-time assistant David Chapman, however, insisted that this was a recipe for a face plant on the concrete. He then proceeded to make a ramp rather than a step. You can see the skeleton of the ramp in the picture above. That board has 1" castor wheels under it so that it can rool with the rest of the box.
It was then just a matter of putting down some 1/2" plywood that almost toucched the floor but did not drag. The hand rails were made of wood and PVC pipe. I could have painted them but I did not bother.

The bricks were the same painted styrofaom blocks I have used before.
Finally, I was happy with one of my elevators. I don't need to build another...
 Home
Home
Copyright © 2012 Garageofterror.com