The Glowing Table
I designed this table for two purposes. First, I wanted it to look cool. Second, I wanted it to keep the kids away from the fortune teller. I came up with a design that would encircle the fortune teller, keeping all kids at least three feet away. I could not encircle the spines, but I could make the room narrow enough that no one could squeeze past the table to reach the spines. I wanted the table to have a distinctly occultish look. I came up with this.
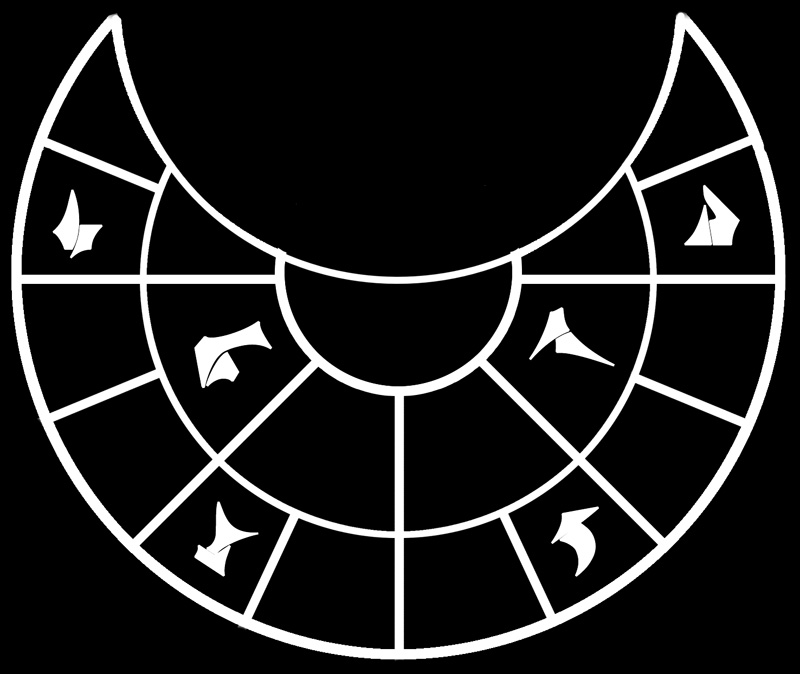
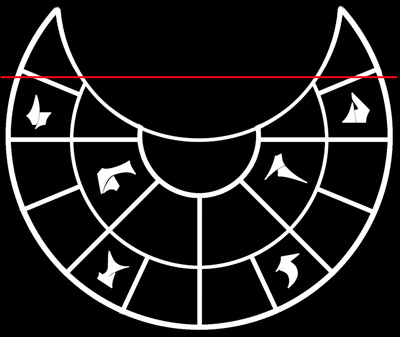
The symbols I wanted etched into the table, but I wanted the lines to be visible only as a red pulsating glow.
I made the table out of a large sheet of 1/8" ply wood and an equally large sheet of 1/2" foam board. The table is 6 feet across. Unfortunately, Home Depost sells these items in 4' x 8' sheets which ment that my table could not be cut from a single piece. I had to make it in three pieces, two of which were just small wings.
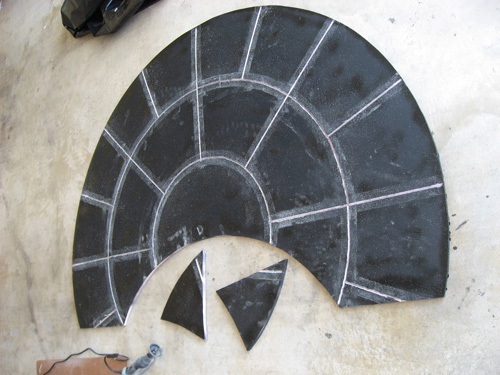
I cut the table from the foam board, using a string tied to a nail as my compass. I then painted the foam board with two coats of polyurethan wood finish followed by black spray paint. The polyurethane protected the foam from the spray paint. Again using a string and nail, I marked the pattern I wanted on the board. Then, I used my router attachment on my dremel and carved 1/4 inch wide, 1/4 inch deep trenches in the shape of my pattern. The results looked like this.
I bought 1/2 inch spacer material (Home Depot with all the base boards), cut it up and glued the spacers along side the pattern. Then, using a glue gun, I attached red Christmas lights to the spacers.
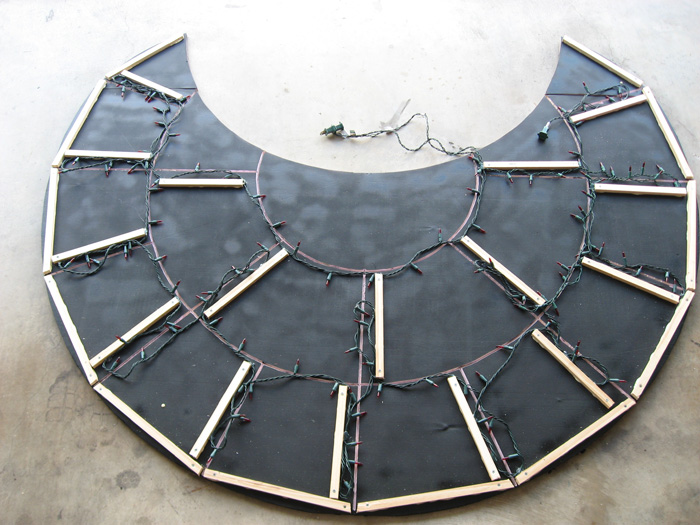
Not shown in this picture is the 4" hole I cut in the center of the small circle for the crystal ball. I used a jigsaw to cut the 1/8 inch ply wood panel into the table shape and attached it to the spacers, thus sandwiching the Christmas lights between the foam board and the ply wood. I then flipped the sandhich over to work on the top surface of the table. I cut stenciles of the symbols I wanted to use from printouts. You can find Rune symbols on the internet or use Klinzhai font. I laid the stencils down, protecting the rest of the table with paper and hit it with a thick coat of spray paint. Without any protection, the foam board melts when painted like this. Thus, I etched my symbol into the table. Once I had all my symbols, I gave my table a couple of coats of polyurethane, then spraypainted it brown. I hand-painted the symbols with a light coat of fluorescent yellow paint (at some point in the haunt, I flick on a black light to illuminate the symbols). I set the table on some legs and enclosed the whole thing using several hardboard panels so that the kids could not look (or crawl) under the table. I then attached the Christmas lights to a fader I picked up one year at Breed & Co which makes the lights fade on and off. The final table looked like this under bright lights. Looks much better in the dark (funny how silly your ultra cool haunt can look under bright lights).
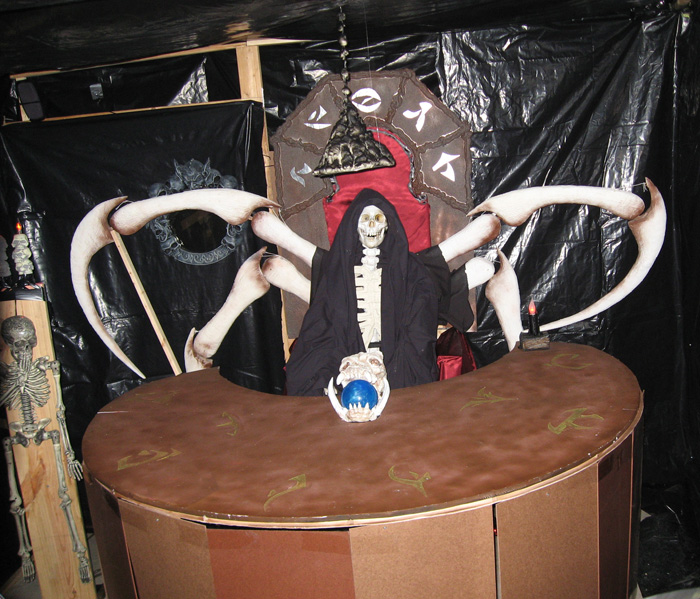
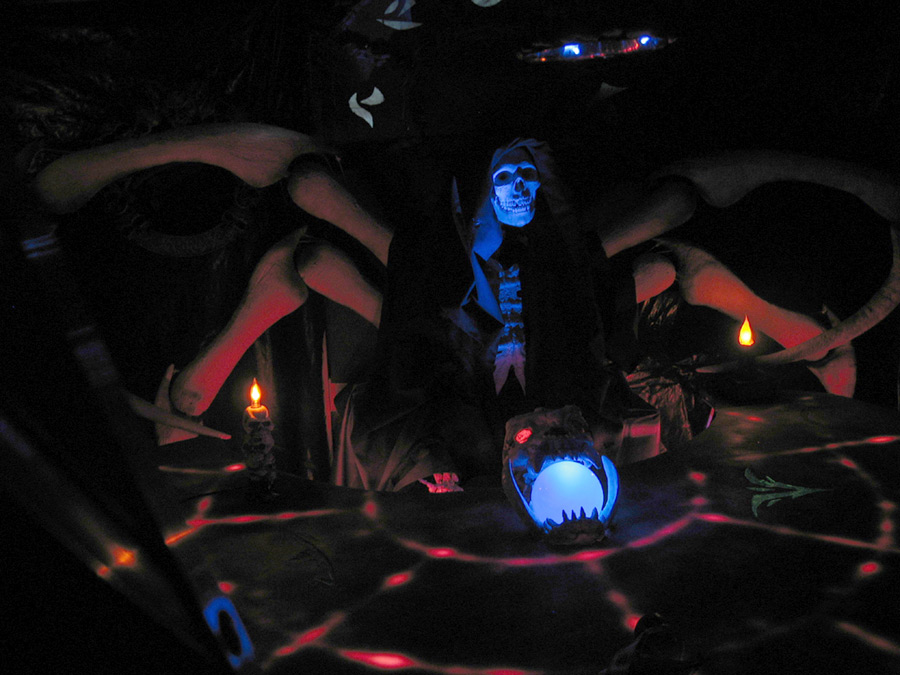
Here it is in the dark with glowing lines and symbols.